
Recently I installed new speakers in the car and came across a challenge when attempting to mount the tweeters. The Woofers, Tweeters and crossovers came as a set which I explained how to install in another post. The woofers were relatively straight forward to install as there was a hole cut in a flat section of door for the mounts to attach to and the fact that the new speaker mounts were the same shape as the originals. The tweeters however were not so simple and required a little bit of customisation.. with help from a 3D printer!
The problem
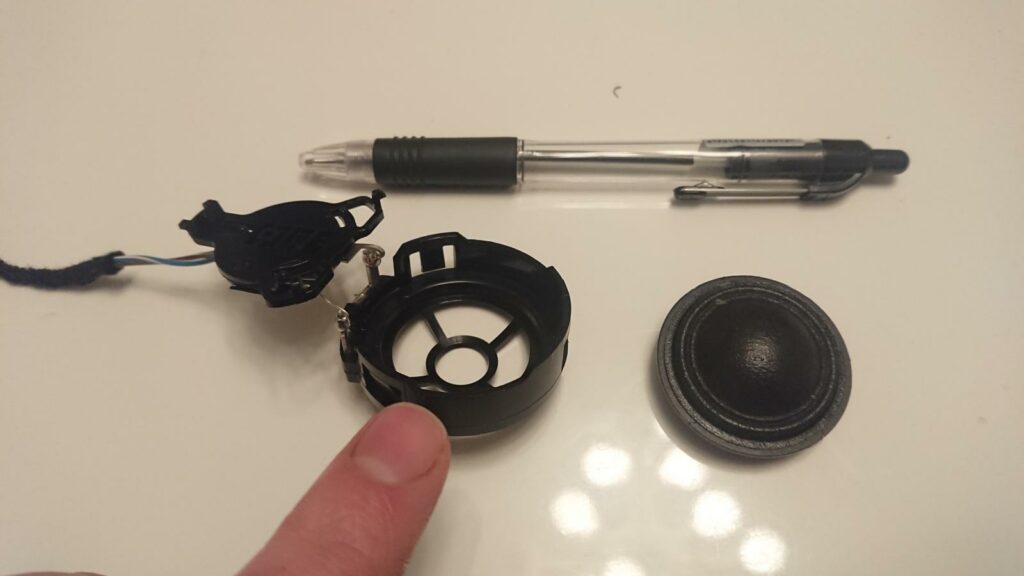
The JBL GTO speakers I bought came with a mounting system stated on the box as imount, though I can’t seem to find a great deal of information about this online so I’m not sure how standardised it is. The imount system came with quite a lot of adaptors for various scenarios but sadly none of these covered the situation I was in: the tweeters are mounted in a sort of cylindrical holder into which clips a mounting bracket which holds the speaker itself. The new tweeter is slightly smaller than the original mounting bracket so it won’t hold it neatly. So how to solve this?
At first I just wanted to install the speaker into the door and make sure it all worked and sounded ok. After fumbling with the imount system and coming up with no solution I just grabbed the nearest thing around which might work which happened to be a kitchen sponge. I just cut a hole in the sponge for the speaker and stuffed it into the gap and held it together with some duct tape. This worked, the speaker was in place and with the door card installed no one can see the method used… but I was not satisfied! Even though it was impossible to tell from looking, I knew that it was messy behind the panel and would not rest until it was rectified.
Bring in the 3D printer
I recalled a friend had told me he had recently bought a 3D printer for some projects he was working on. Could this be used for my speakers? I sent him a message along with some photos of what I needed and he agreed that this is exactly the sort of problem that could be solved with a 3D printer.
I brought the parts around to his house for him to take some measurements off and he got to work producing a 3D model in his computer. A few days later I went around to see the printer producing the parts. With so many parameters to tweak on the printer he told me he had to produce a few samples to get the consistency correct.

We produced a prototype and tried the tweeters. It was a perfect fit! With the prototype a success we could get on with printing the second one.
Assembly and installation
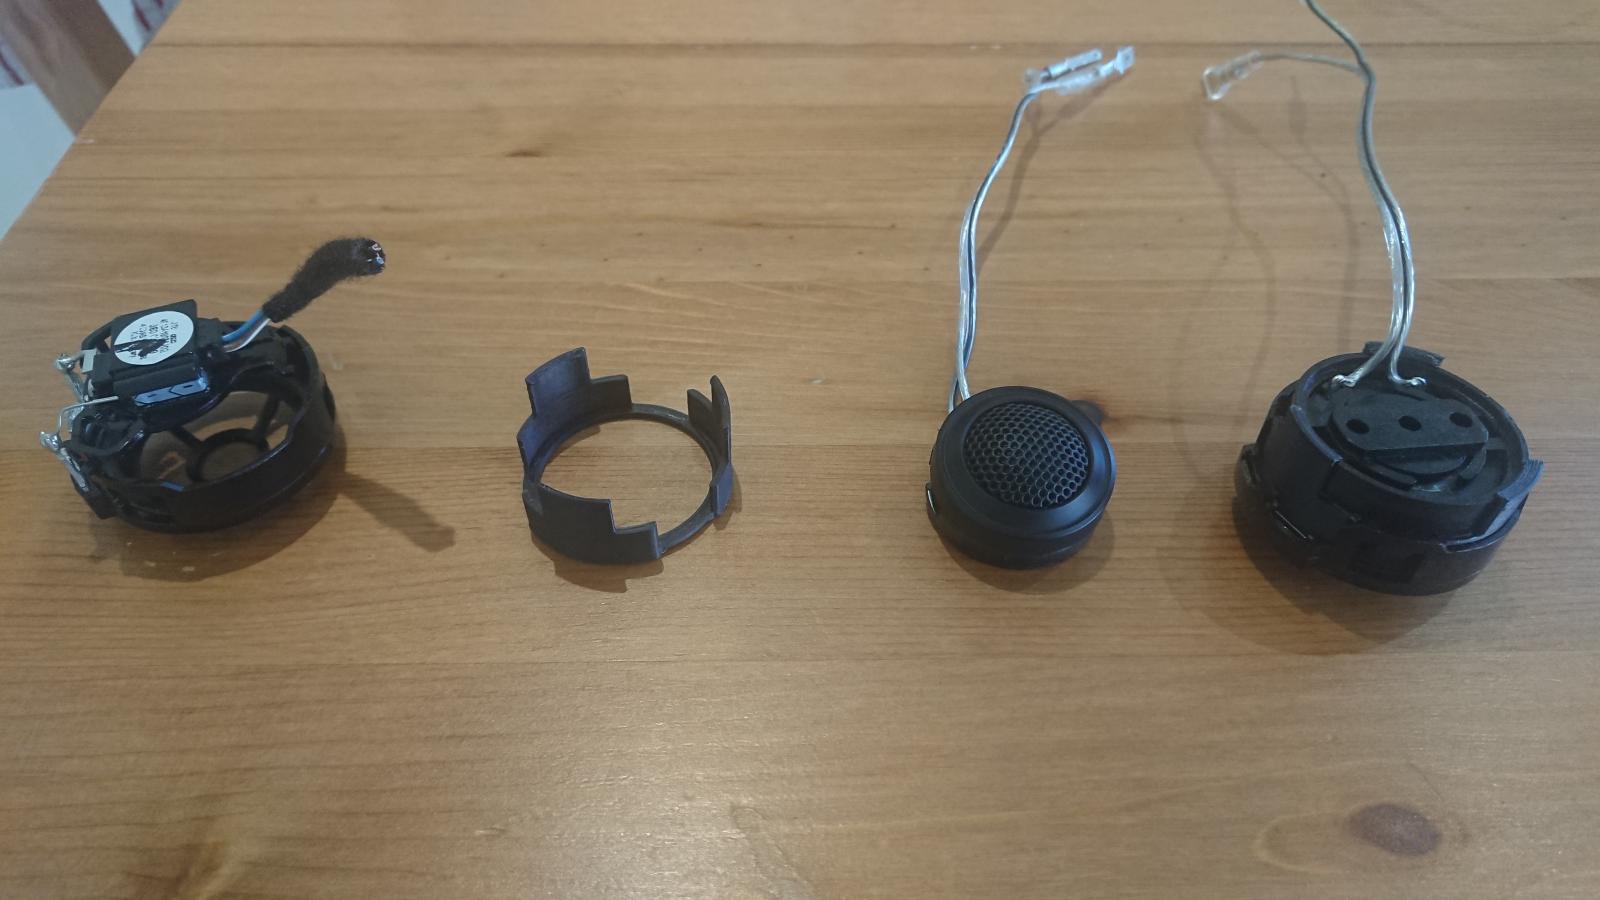
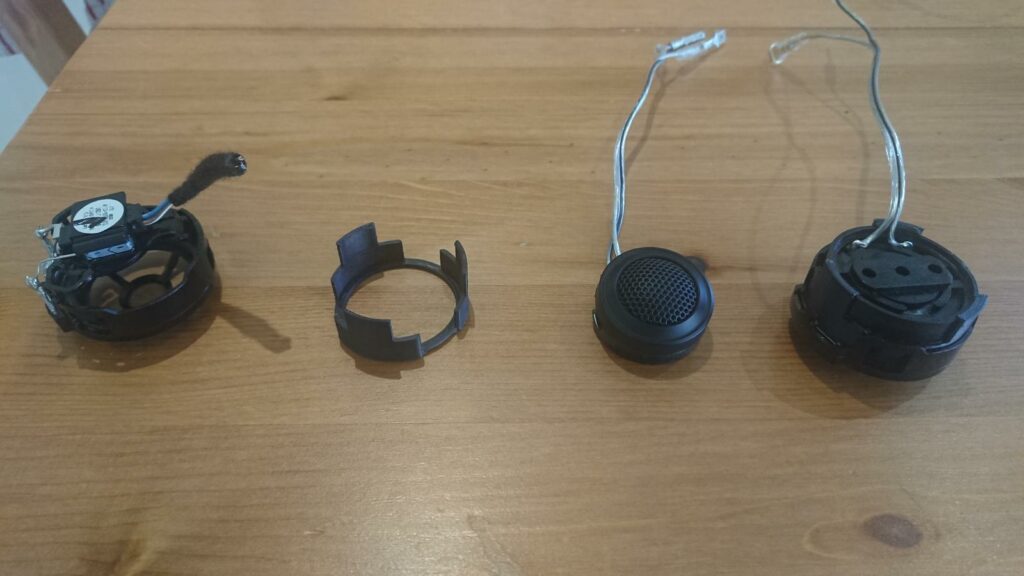
The above image shows how the printed bracket fits in. The piece on the left of the image is the original bracket, next is the 3D printed bracket followed by the new speaker. Finally the fully assembled components are on the right.
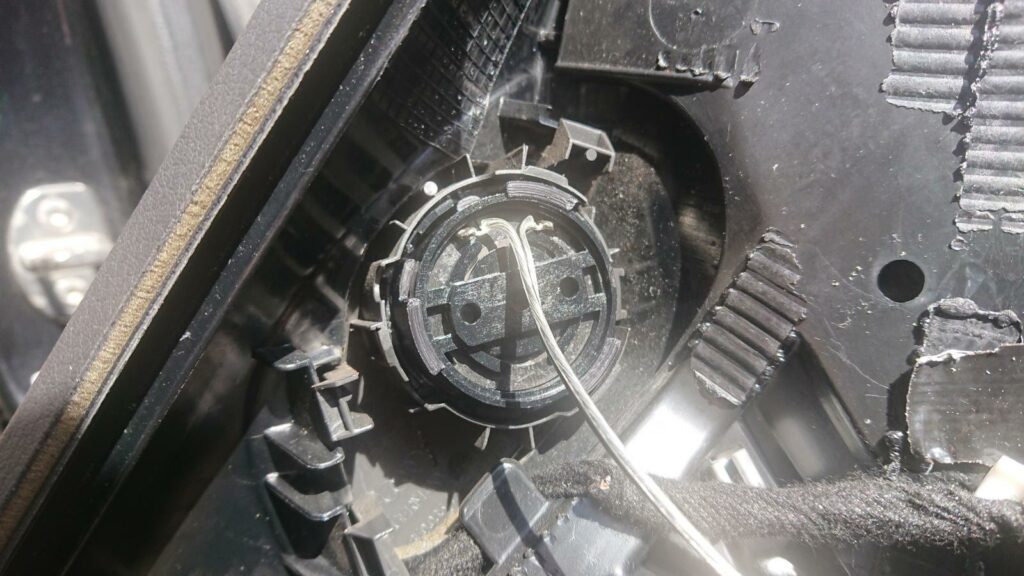
The fully assembled component clipped into the door card snugly. No movement, no vibration, giving the best chance of decent sound.
Final thoughts
This article has not been intended to be a detailed tutorial, but shows what is possible in this car, as well as others. There are various resources online for 3D printed speaker components as well as 3D printed parts for all sorts of uses. If you need any further information please get in touch.