
There is a growing community of amateur weather observers using personal weather stations to measure conditions in their own homes and gardens. A lot of these stations can also send the data online to share with others, or to allow analysis of historical trends. I decided to get in on the action and set up my own weather station so I can see what the current conditions are, see the recent trend and maybe even have a go at producing my own local forecast. Read on to see which personal weather station I chose, what it can do and how I set it up including getting it online.
I chose a fairly modest unit, namely the BRESSER WIFI colour weather center with 5-in-1 profi sensor which can measure air pressure, indoor and outdoor temperature and humidity, wind speed and direction and rainfall. Other parameters such as dew point and heat index are derived from the measured values and are displayed on a neat indoor console which allows you to look at recent trends, historical values and min and max readings. Most importantly this data can be uploaded to wunderground and weathercloud online weather collecting sites.
Weather collection web sites
Weathercloud was the deal breaker for me. When I looked at weather underground (by far the most popular weather collecting site) I found it slow to load and full of adverts, causing my laptop’s fans to go into overdrive which isn’t a great sign. The interface is also quite busy compared to weathercloud’s minimal clean layout. Finally, the default units are °F and inches (mercury and rainfall) which doesn’t work for me. Most PWS will send to wunderground but far fewer will send to any other sites such as the Met Office’s WOW, AWEKAS and others which I didn’t really look into.
So what’s in the box?

Inside the weather station box is:
- outdoor unit: battery powered with anemometer, wind vane, temperature and humidity and rain collector.
- indoor base station: connects to outdoor unit to collect sensor values and also connects to home WiFi to upload data.
- base unit stand: the base unit can be mounted on the wall without the stand or upright on a desk etc if you attach this stand.
- power supply for base station: connects to mains with UK or EU sockets
- small screw driver: to connect unit to stands and open the battery cover on outdoor unit.
- nuts and bolts: to connect stand to outdoor unit
- stand and clamps: can be attached in various ways to horizontal or vertical flat surfaces or poles.
Siting the weather station
It’s worth spending a bit of time thinking about where to position the unit in order to get the best readings. Ideally all the sensors would be placed separately in places which collect optimal results particular to that sensor. Clearly you can’t do that with the all-in-one units as all the sensors are lumped together and therefore the siting will be sub-optimal for some readings; compromises will have to be made. There are many guides for properly siting weather stations. Two that I found useful are this by Citizen Weather Observer Program and this by weatherstationdepot.com.
I live in an urban area with hardly any open area in the garden so decided to place the unit on the roof of the house where it will be most exposed to the wind. The rain gauge will be affected by wind here and the temperature sensor might pick up a lot of heat from the roof on a hot day but I think it’s a reasonable compromise.
Eliminating the batteries
The outdoor unit powered by 3 AA batteries. I don’t know how long the batteries are supposed to last and I don’t fancy a trip to the roof every time they need changed so I looked into powering the unit from the mains. I found a 4.5V AA battery eliminator which includes 2 dummy batteries to allow the current to flow and a single 4.5V powered battery eliminator also in the shape of an AA battery. A long DC power cable will connect through the roof and plug into the mains. No more battery changing! I thought I would have to drill a hole for the power cable but in fact it is incredibly thin and the battery door can be shut and screwed down over it.


Setting up and testing
Setting up is fairly straight forward. In my case the outdoor unit connected to the base unit straight away, but in case it doesn’t there is a procedure in the manual you can follow to get it to do so. There was a little bit of calibration required for air pressure. First look at what the air pressure is reading on the unit and compare this with the value for your location on a site such as windy.com. The difference needs to be entered into the unit so that it displays a correct value.
The unit can only be configured in setup mode. By holding the wifi button for several seconds it enables AP mode: a wifi hotspot you can connect to in order to access it through a web browser. Here you can set it up to connect to your home wifi, configure a time server to automatically update date and time and also calibrate the sensors.
This is also where the weather sites: wunderground and or weathercloud are configured. I set up a weathercloud account and created a new device. Weathercloud supplies a user key and device ID which are entered into the base station’s setup page. It took a few minutes to start showing data on weathercloud so be patient. I didn’t set up a wunderground account so unchecked this box on the setup page.
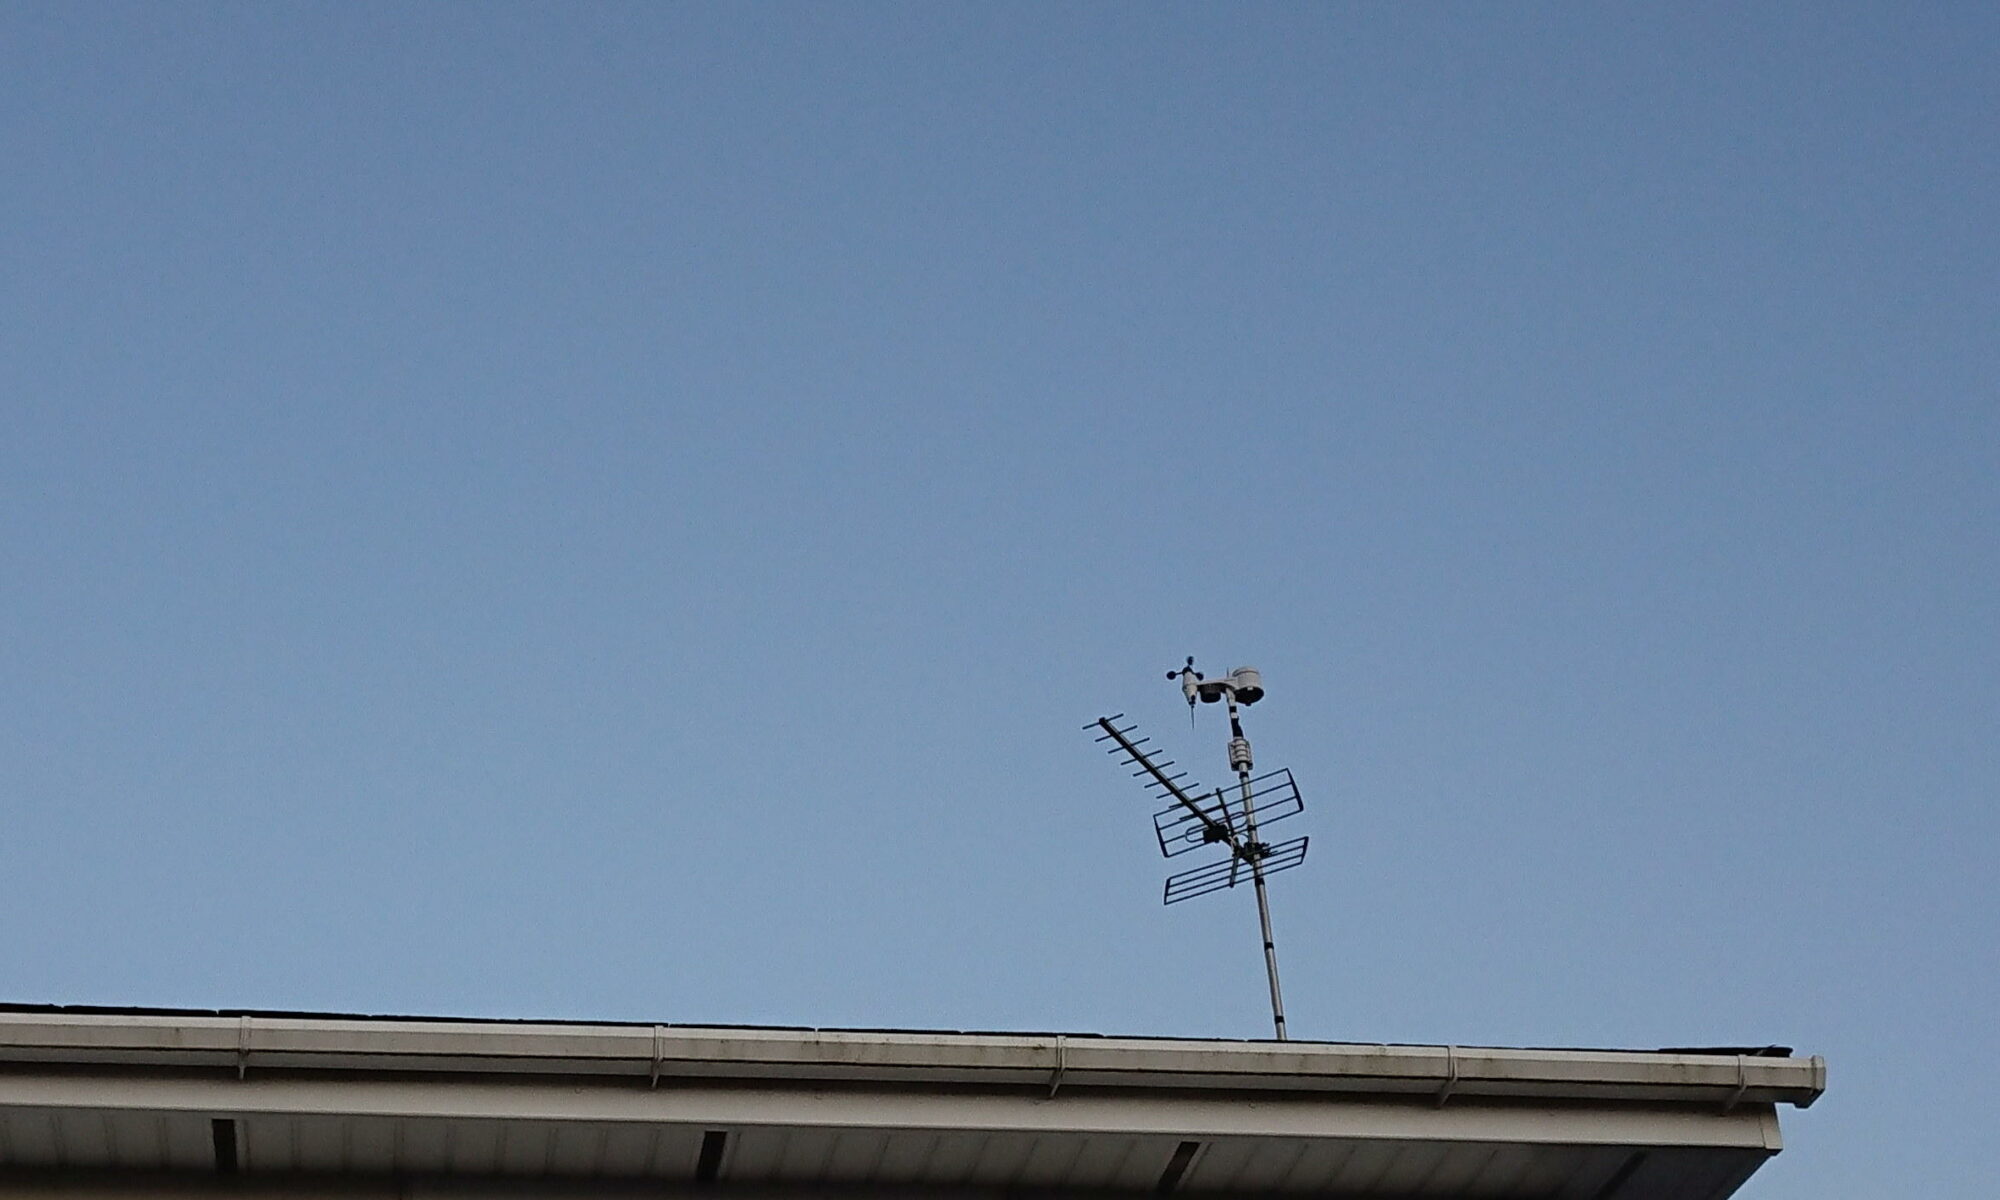
With setup complete I set the outdoor unit up in the back garden to test it. Once I was happy everything was worked as it should I had a local aerial fitter attach the unit to the top of the TV aerial and feed the power cable into an upstairs bedroom. Well you didn’t think I was going up there, did you!? For a start I don’t have a long enough ladder…
Now it’s up and running
This article has been an overview of how to get a PWS up and running. I felt it was fairly straight forward and hope it increases my interest in following local weather conditions and events for years to come. Once you’ve set it up online you can check the data it’s been uploading over the past day, week or year and make some analysis. You can certainly sit back and enjoy after this… but I’m not done yet! In future articles I will be tinkering with the data payload it sends to weathercloud and hopefully setting up my own site to save the data to. As always, if you have questions or comments please let me know!